Hockhocking Adena Bikeway Northern-half
August 07, 2025Part of a series about Ohio bike trails
Rating The Ride
Smoothness
9 / 10 Very smooth with only a few rough spots near Hocking College. NOTE: Smoothness changes with time and trails could worsen or be repaved
Scenery
9 / 10 Some really nice portions in which the trail follows the river. About 80% of the ride was in the shade. Plenty of birds singing.
Seclusion
8 / 10 Few others on the trail. About 6 or 7 road crossings.
Final score 8.7 / 10
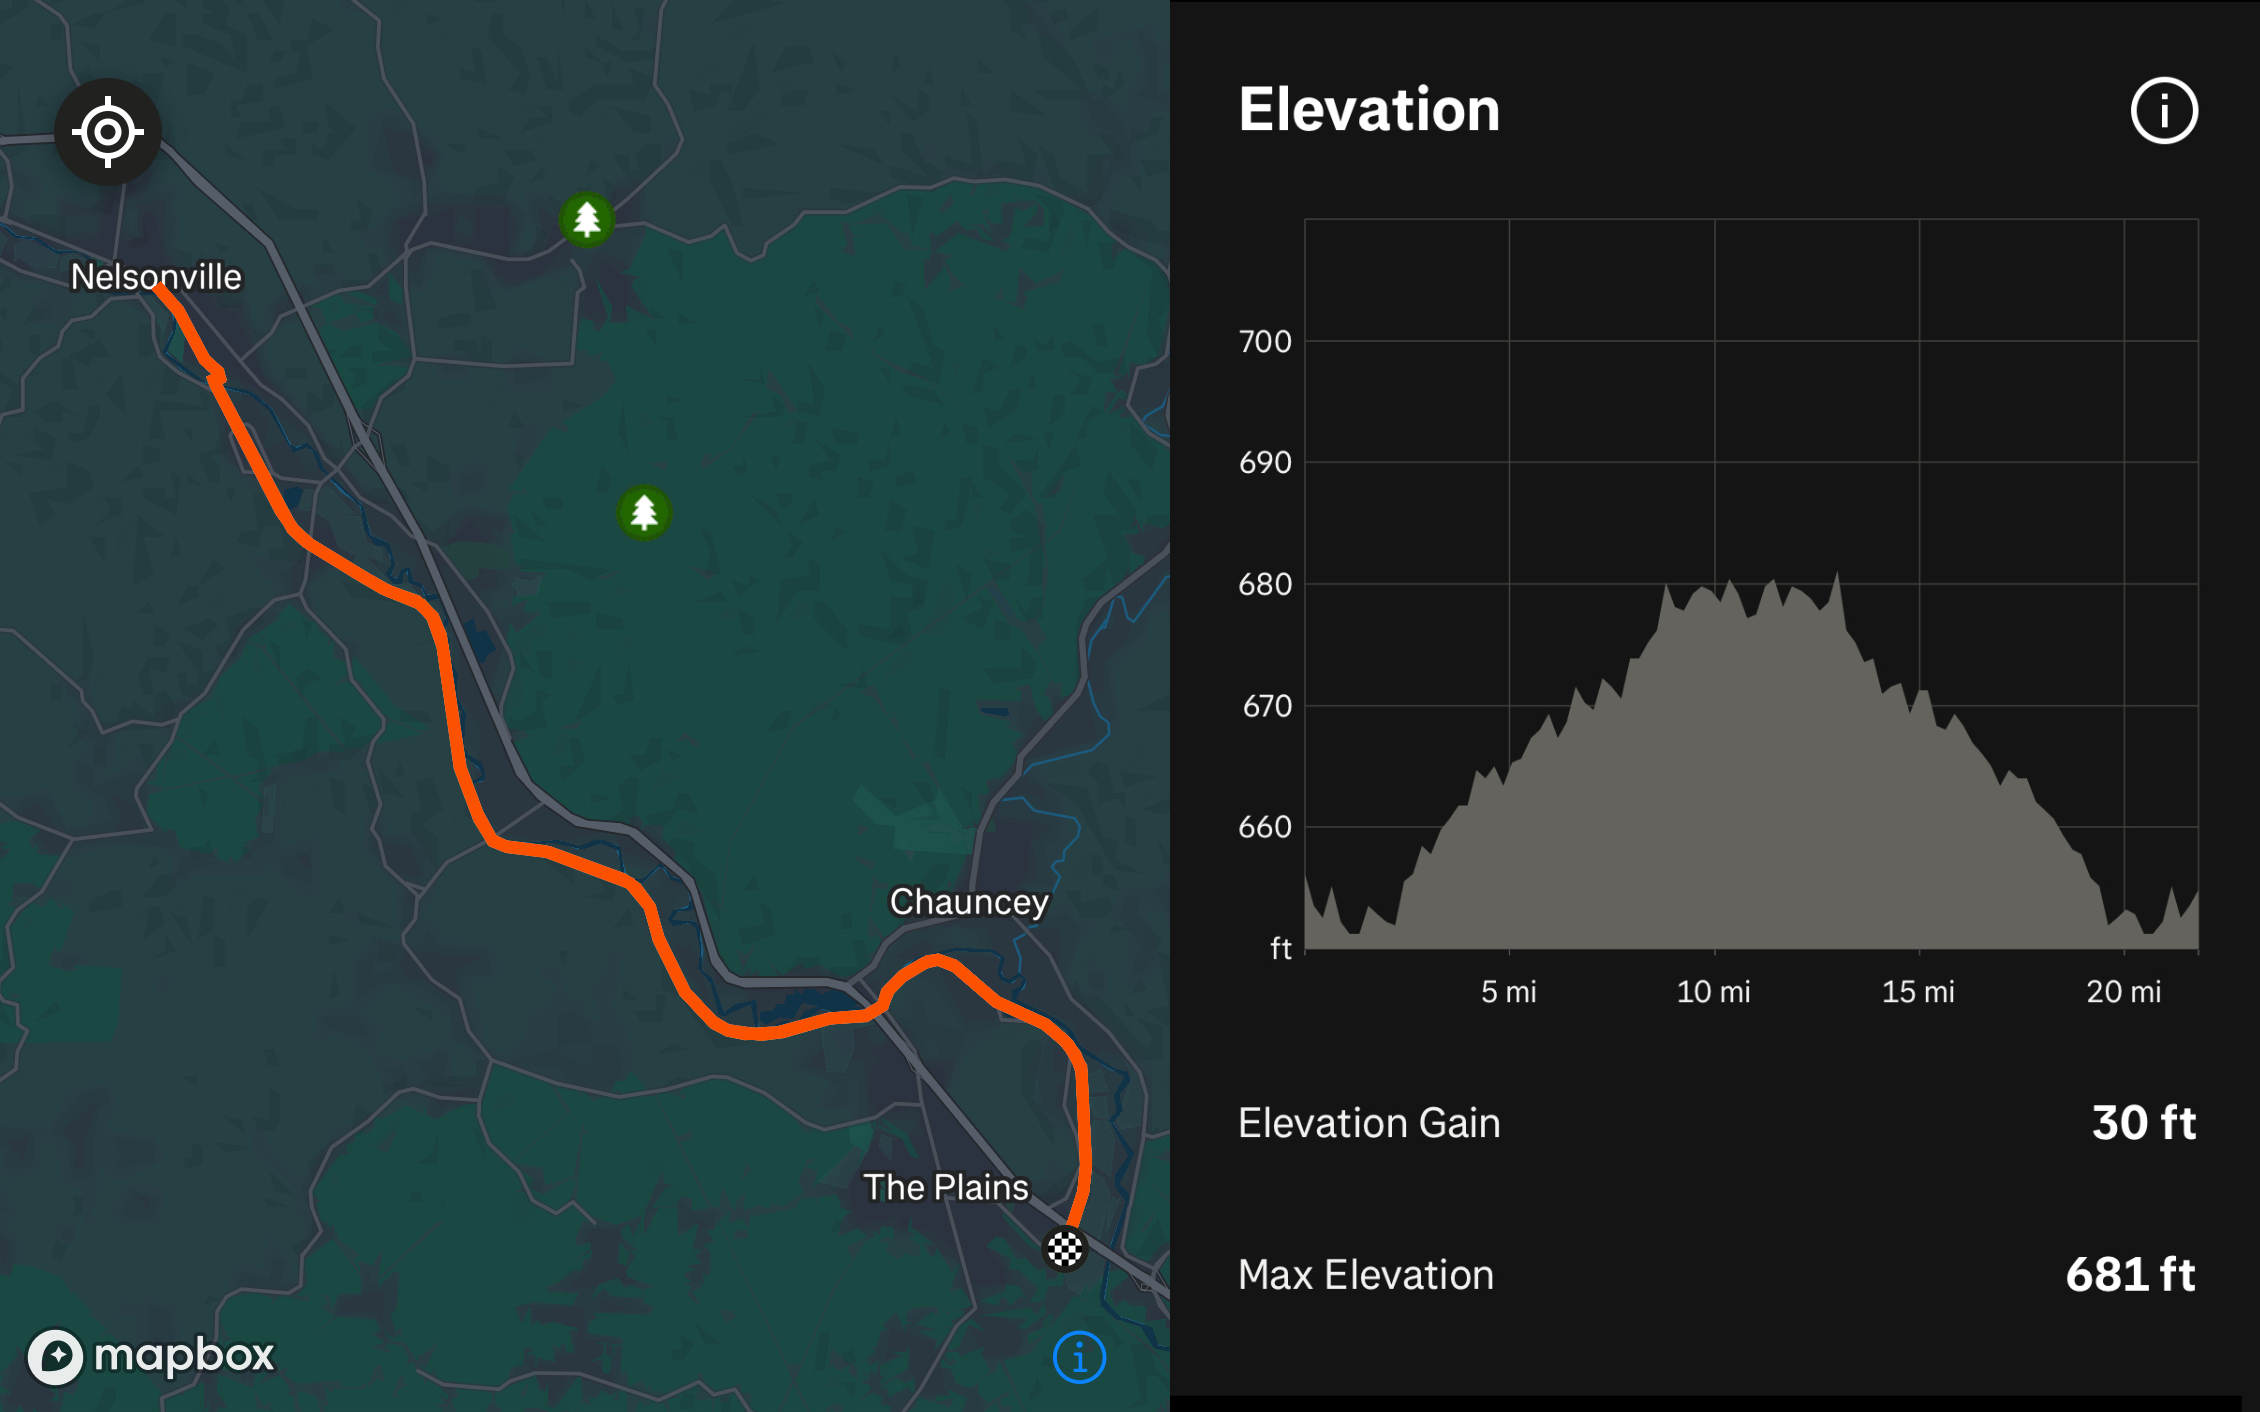
In August, 2025 my father-in-law and I biked the northern-half of the Hockhocking Adena Bikeway from The Plains, Ohio to Nelsonville, Ohio and back. The full trail is 22-miles long, so we split it into two out-and-back halves.
The northern-half is 21.87 miles out-and-back with an elevation gain of 30 ft. Parking is located in The Plains near Eclipse Company Store: https://maps.app.goo.gl/gDqiMKrvBfANkF7i9
Restaurants nearby:
- Eclipse Company Store
- Gigi’s Country Kitchen
- Casa Nueva
Kokosing Gap Trail
August 01, 2025Part of a series about Ohio bike trails
Rating The Ride
Smoothness
6 / 10 Nice tree cover, but that also means roots! I remember this as a slightly-rough ride. NOTE: Smoothness changes with time and trails could worsen or be repaved
Scenery
8 / 10 Some really nice portions in which the trail follows the river. About 70% of the ride was in the shade. Lots of birds singing.
Seclusion
7 / 10 Not too crowded. Only 4 or 5 road crossings.
Final score 7 / 10
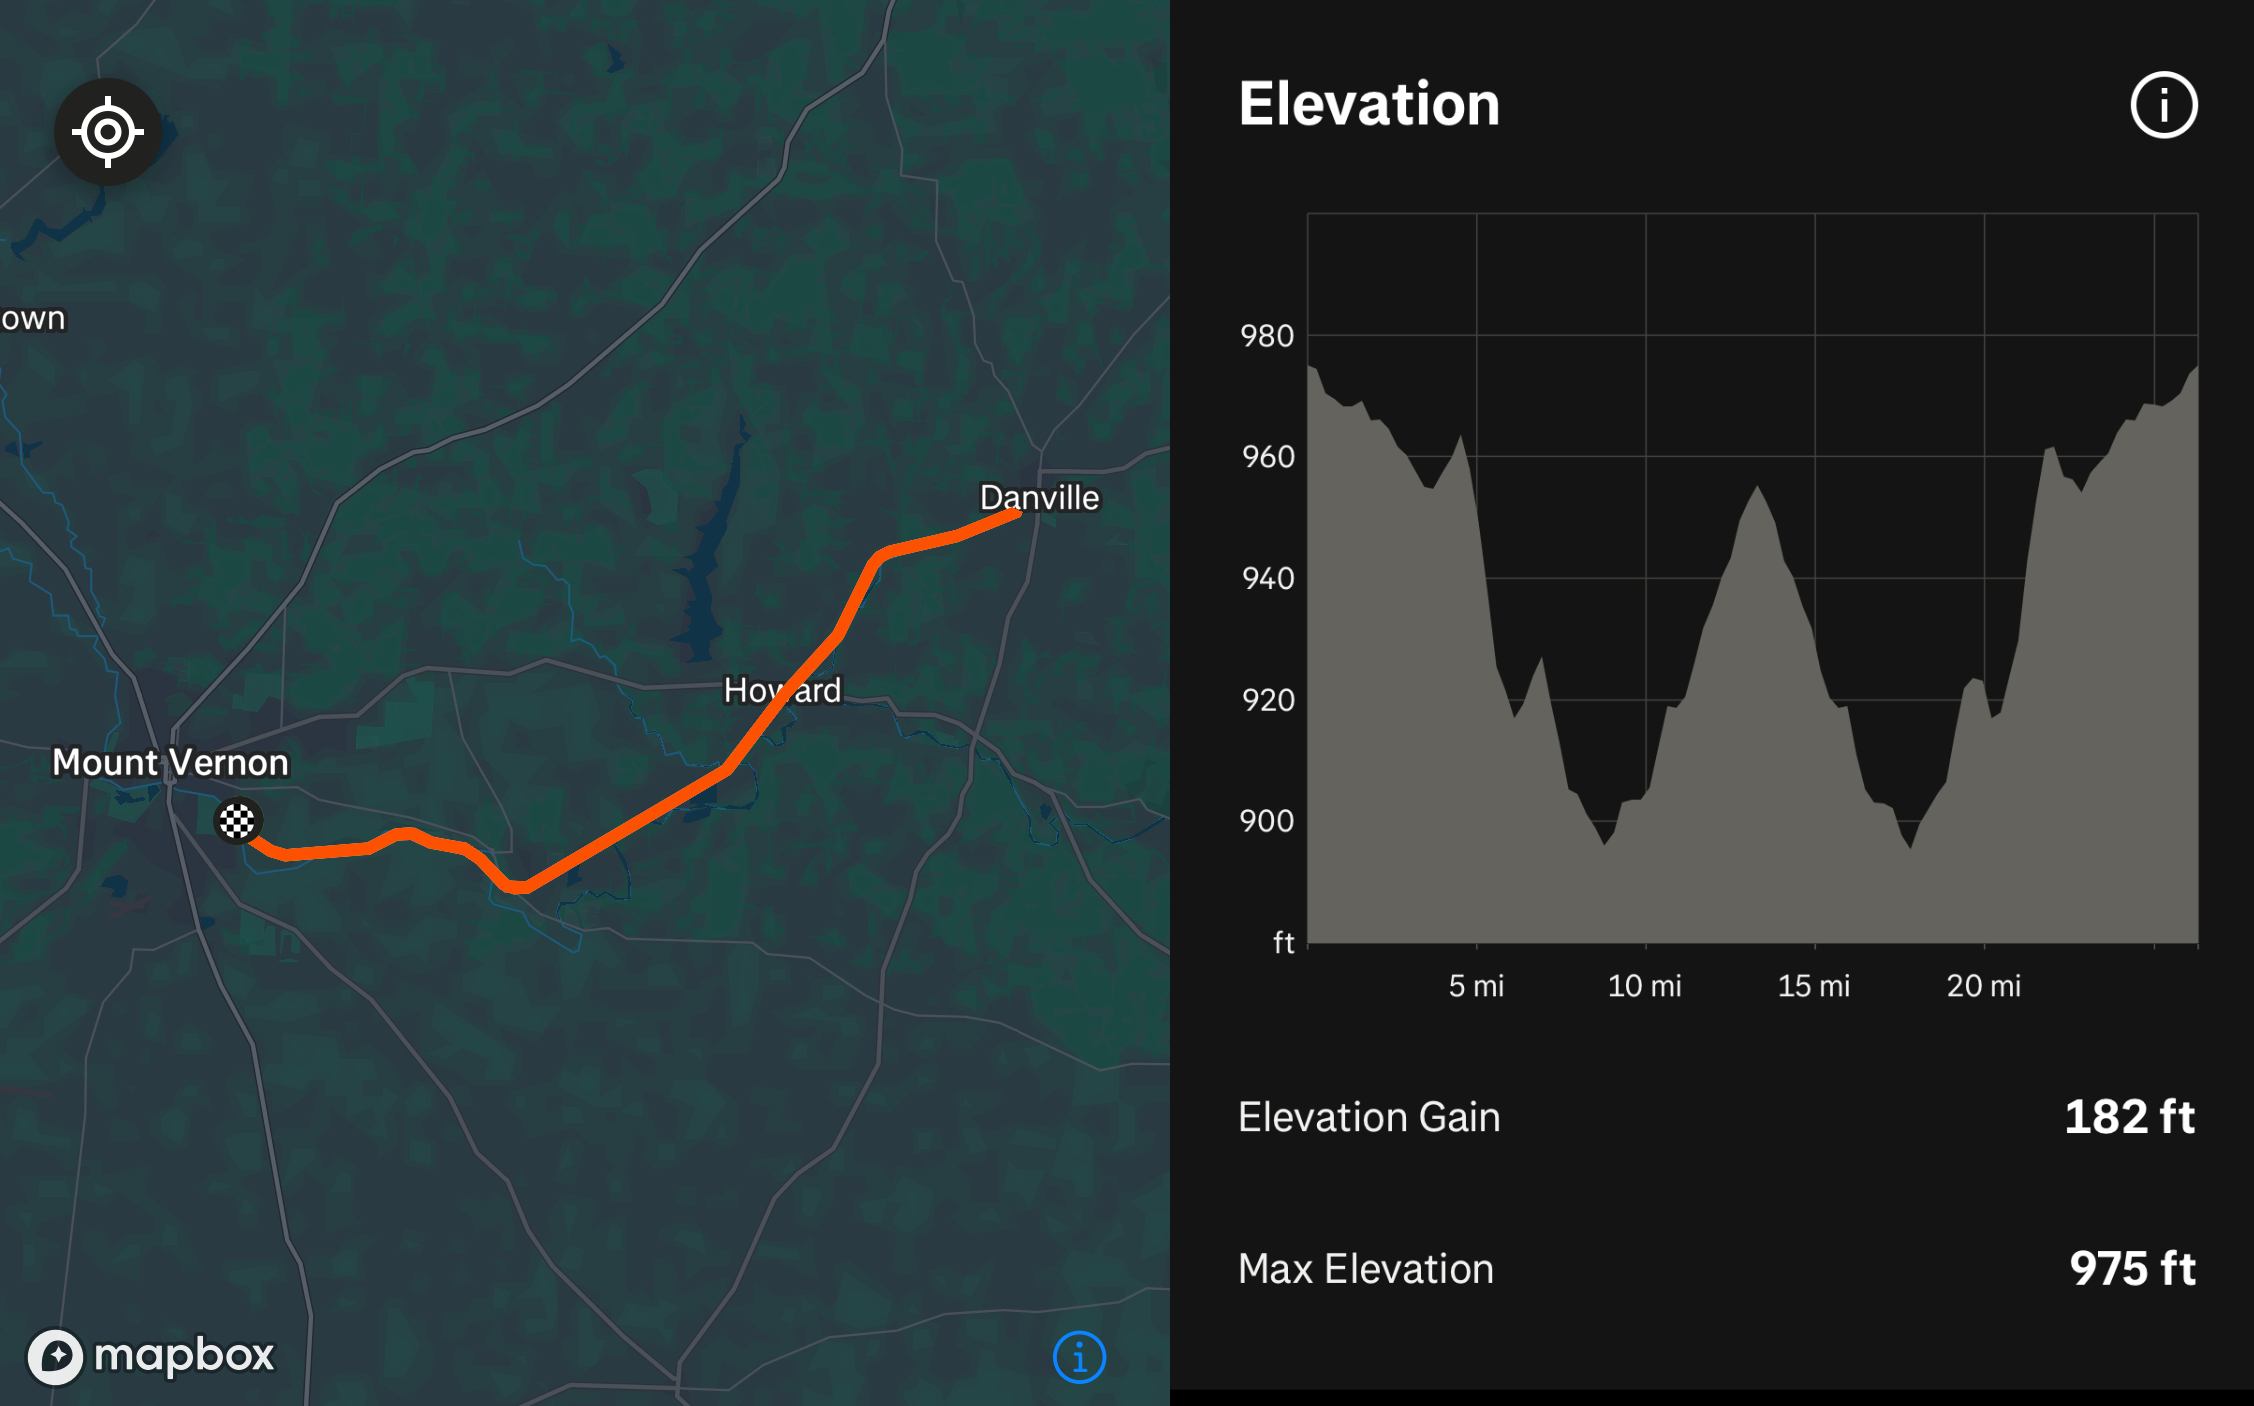
In August, 2025 my father-in-law and I biked the Kokosing Gap Trail from Mount Vernon, Ohio to Danville, Ohio and back.
The full trip is 26.39 miles with an elevation gain of 182 ft. This is an Out-and-Back trail. Parking is located in Mount Vernon near the intersection of Mt Vernon Ave Ext and Lower Gambier Road: https://maps.app.goo.gl/VhzWiJDJiDw4hYf19
Restaurants nearby:
- Flappers Bar & Grille
- Southside Diner
- The Alcove Restaurant & Lounge
Adding Background Music to Puzzlescript Games
October 28, 2022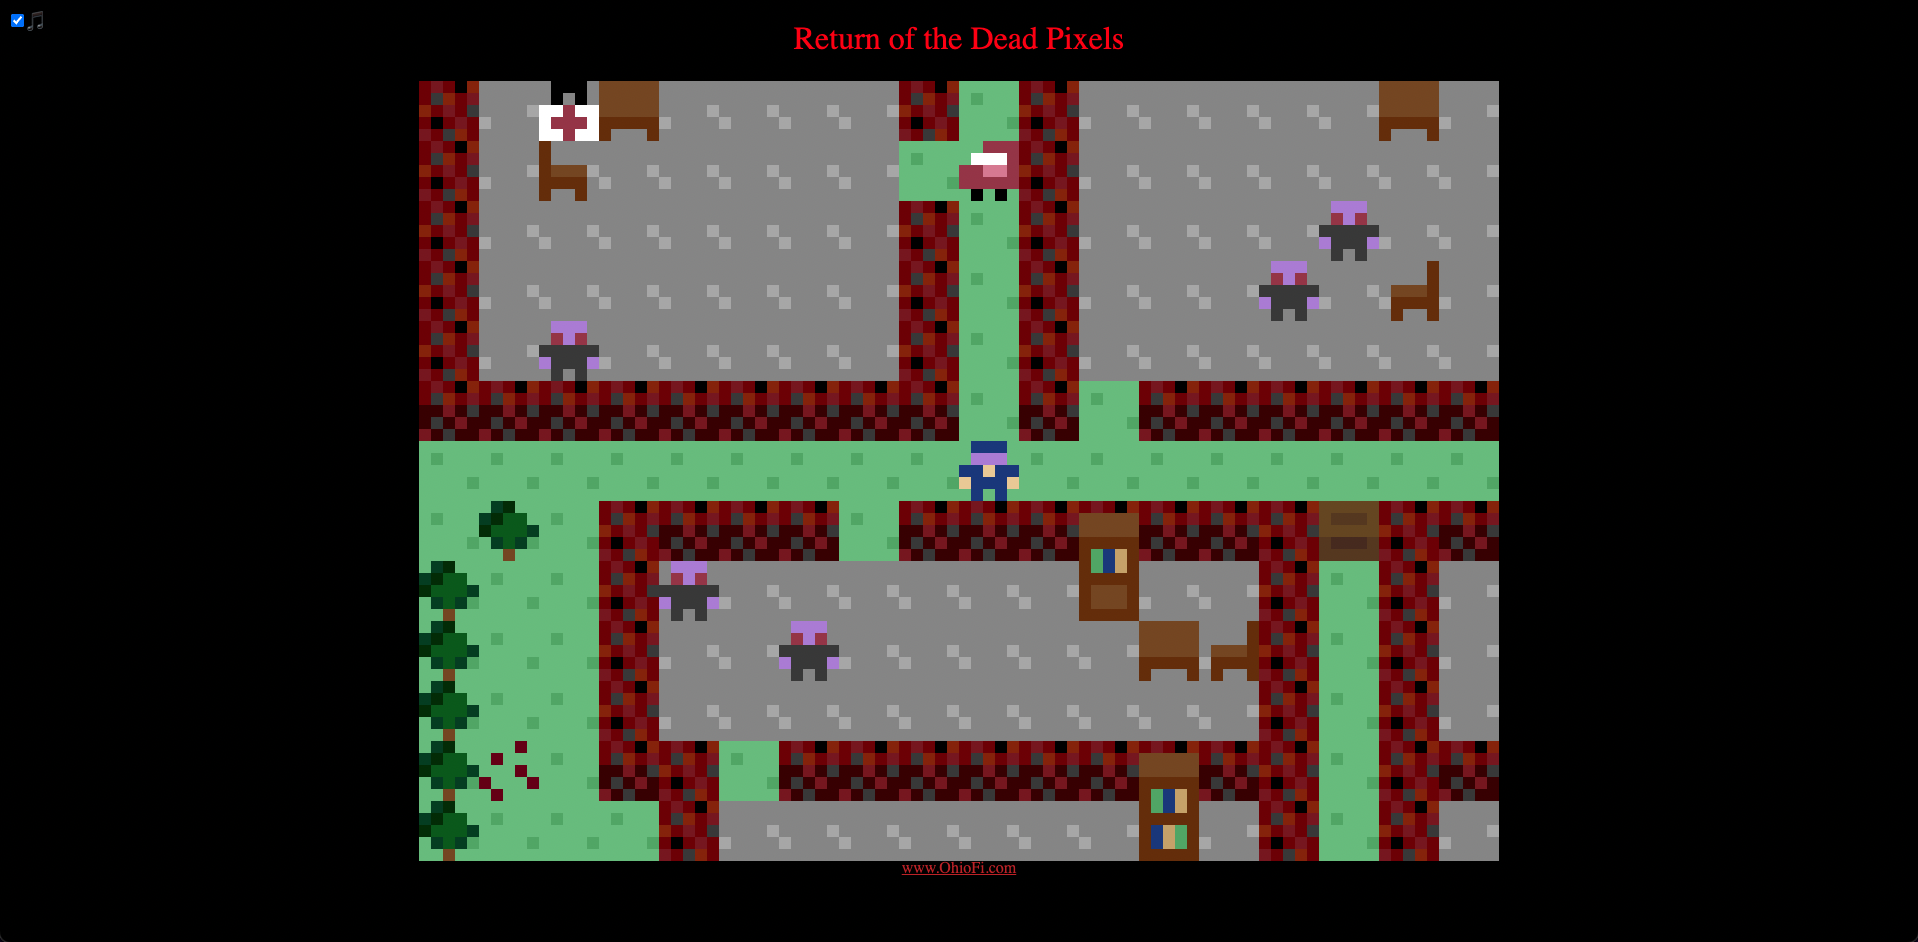
Step 1: Make a Puzzlescript game and export it as HTML.
Step 2: Add a toggle switch (a checkbox) inside of the HTML body. Preferably right after the opening <body> tag.
<label for="musicToggle"><input type="checkbox" id="musicToggle" name="musicToggle" onclick="playBgMusic()" checked>🎵</label>
Step 3: Add the audio component and the Javascript code. Preferably right before the closing </body> tag. Change YOUR-FILE-NAME-HERE.mp3 to the name of your music file.
<audio id="audio" controls style="display:none">
  <source src="YOUR-FILE-NAME-HERE.mp3" type="audio/mpeg"> Your browser does not support the audio element.
</audio>
<script>
  function playBgMusic(){
    if(document.getElementById("musicToggle").checked){
      document.getElementById('audio').play();
    }else{
      document.getElementById('audio').pause();
    }
  }
  document.addEventListener('keyup', playBgMusic);
  document.addEventListener("click", playBgMusic);
</script>
Step 4: THAT’S IT!
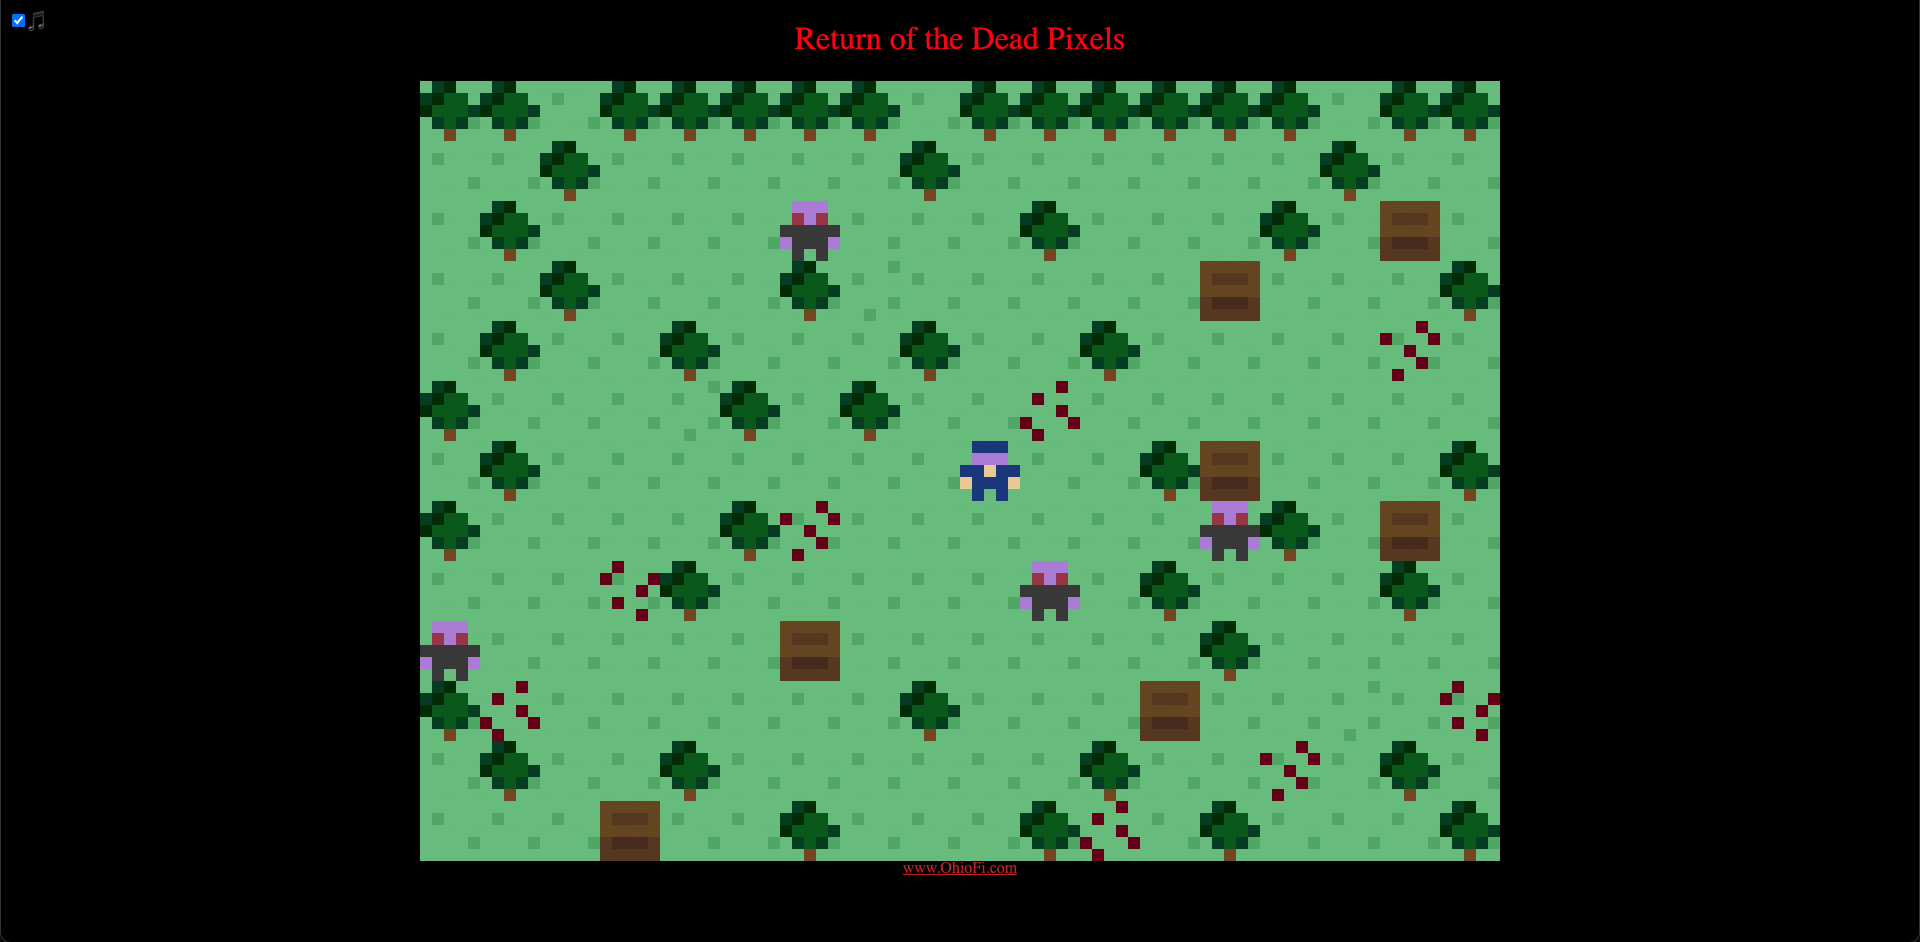
Check it out by playing Return Of The Dead Pixels, my Puzzlescript zombie game:
https://ohiofi.itch.io/return-of-the-dead-pixels
RECENT POSTS
- Danville To Glenmont
- TJ Evans Trail
- Blacklick Creek Trail
- Roberts Pass Trail
- Alum Creek Trail South
- Southern Half of the Hockhocking Adena Bikeway
- Hockhocking Adena Bikeway Northern-half
- Kokosing Gap Trail
- Adding Background Music to Puzzlescript Games
- Baby Zombie Chicken Jockey Java Minecraft Mod
- Raining Chickens Java Minecraft Mod
- Spawn a Pet Wolf Java Minecraft Mod
- Spigot Server for Java Minecraft Mods
- Python Classes to Javascript Classes
- JUnit Tests with Repl.it Teams for Education
- Canvas How to convert an old Quiz Question Bank to a new Quiz Item Bank
- Node Twitterbot Directions
- FogeyBot Thinks Twitter is the Worst
- Detecting Sentence Structure with Regex
- Game-based Learning Presentation
- Hello Jekyll
- Testing 123
- Grading Multi-Select Questions with Google Forms and Google Sheets
- Puzzlescript Rules
- Using Makey Makey to Teach Electricity
- Makey Makey + Scratch Video Game Projects
- Orbit Simulator
- Market game
- TwineFray: A Battle System for Twine
- Sundown
- Twine Games by Middle School Students
- Twine CSS
- Twine Music and Sound Effects from YouTube
- Twine Pictures, GIFs, and Background Images
- Twine Random Numbers
- Tutorial videos for Spreadsheet Functions and Formulas
- How to Program Twitterbots as an Intro to Computer Science
- Podcast Recommendations
- Coding Twitterbots with Middle School Students
- Educational Games on The Internet Archive
- Typing Games in Scratch
- Scratch Tutorial Videos
- Editing videos with Windows Movie Maker
- How to use iMovie for iPad
- Quick and easy DIY pressure plate switch for Makey Makey and Scratch
- Webcam Motion Pixel Art
- Flipped Classroom Scratch Programming Lessons
- BYOD Music Class Using OhioFi Games
- 3 Methods for Going Paperless in the Classroom
- Dodgeball Cat